QR Code Size Guide for Print: Minimum Size and Scan Distance
How big a printed QR code needs to be, the 10:1 distance rule, the pixel maths for 300 DPI, and why the quiet zone matters more than the size.
Most printed QR codes that fail were printed too small for the distance people stand at, or had their white margin cropped away by a designer making things tidy.
Both are avoidable with two numbers and one rule.
The 10:1 rule
The code should be about one tenth of the distance it will be scanned from.
Scanned from 30 cm? Make it 3 cm. Read from 3 metres? Make it 30 cm. It is a rule of thumb rather than a standard, but it matches how camera autofocus and resolution behave, and it has the virtue of being easy to apply.
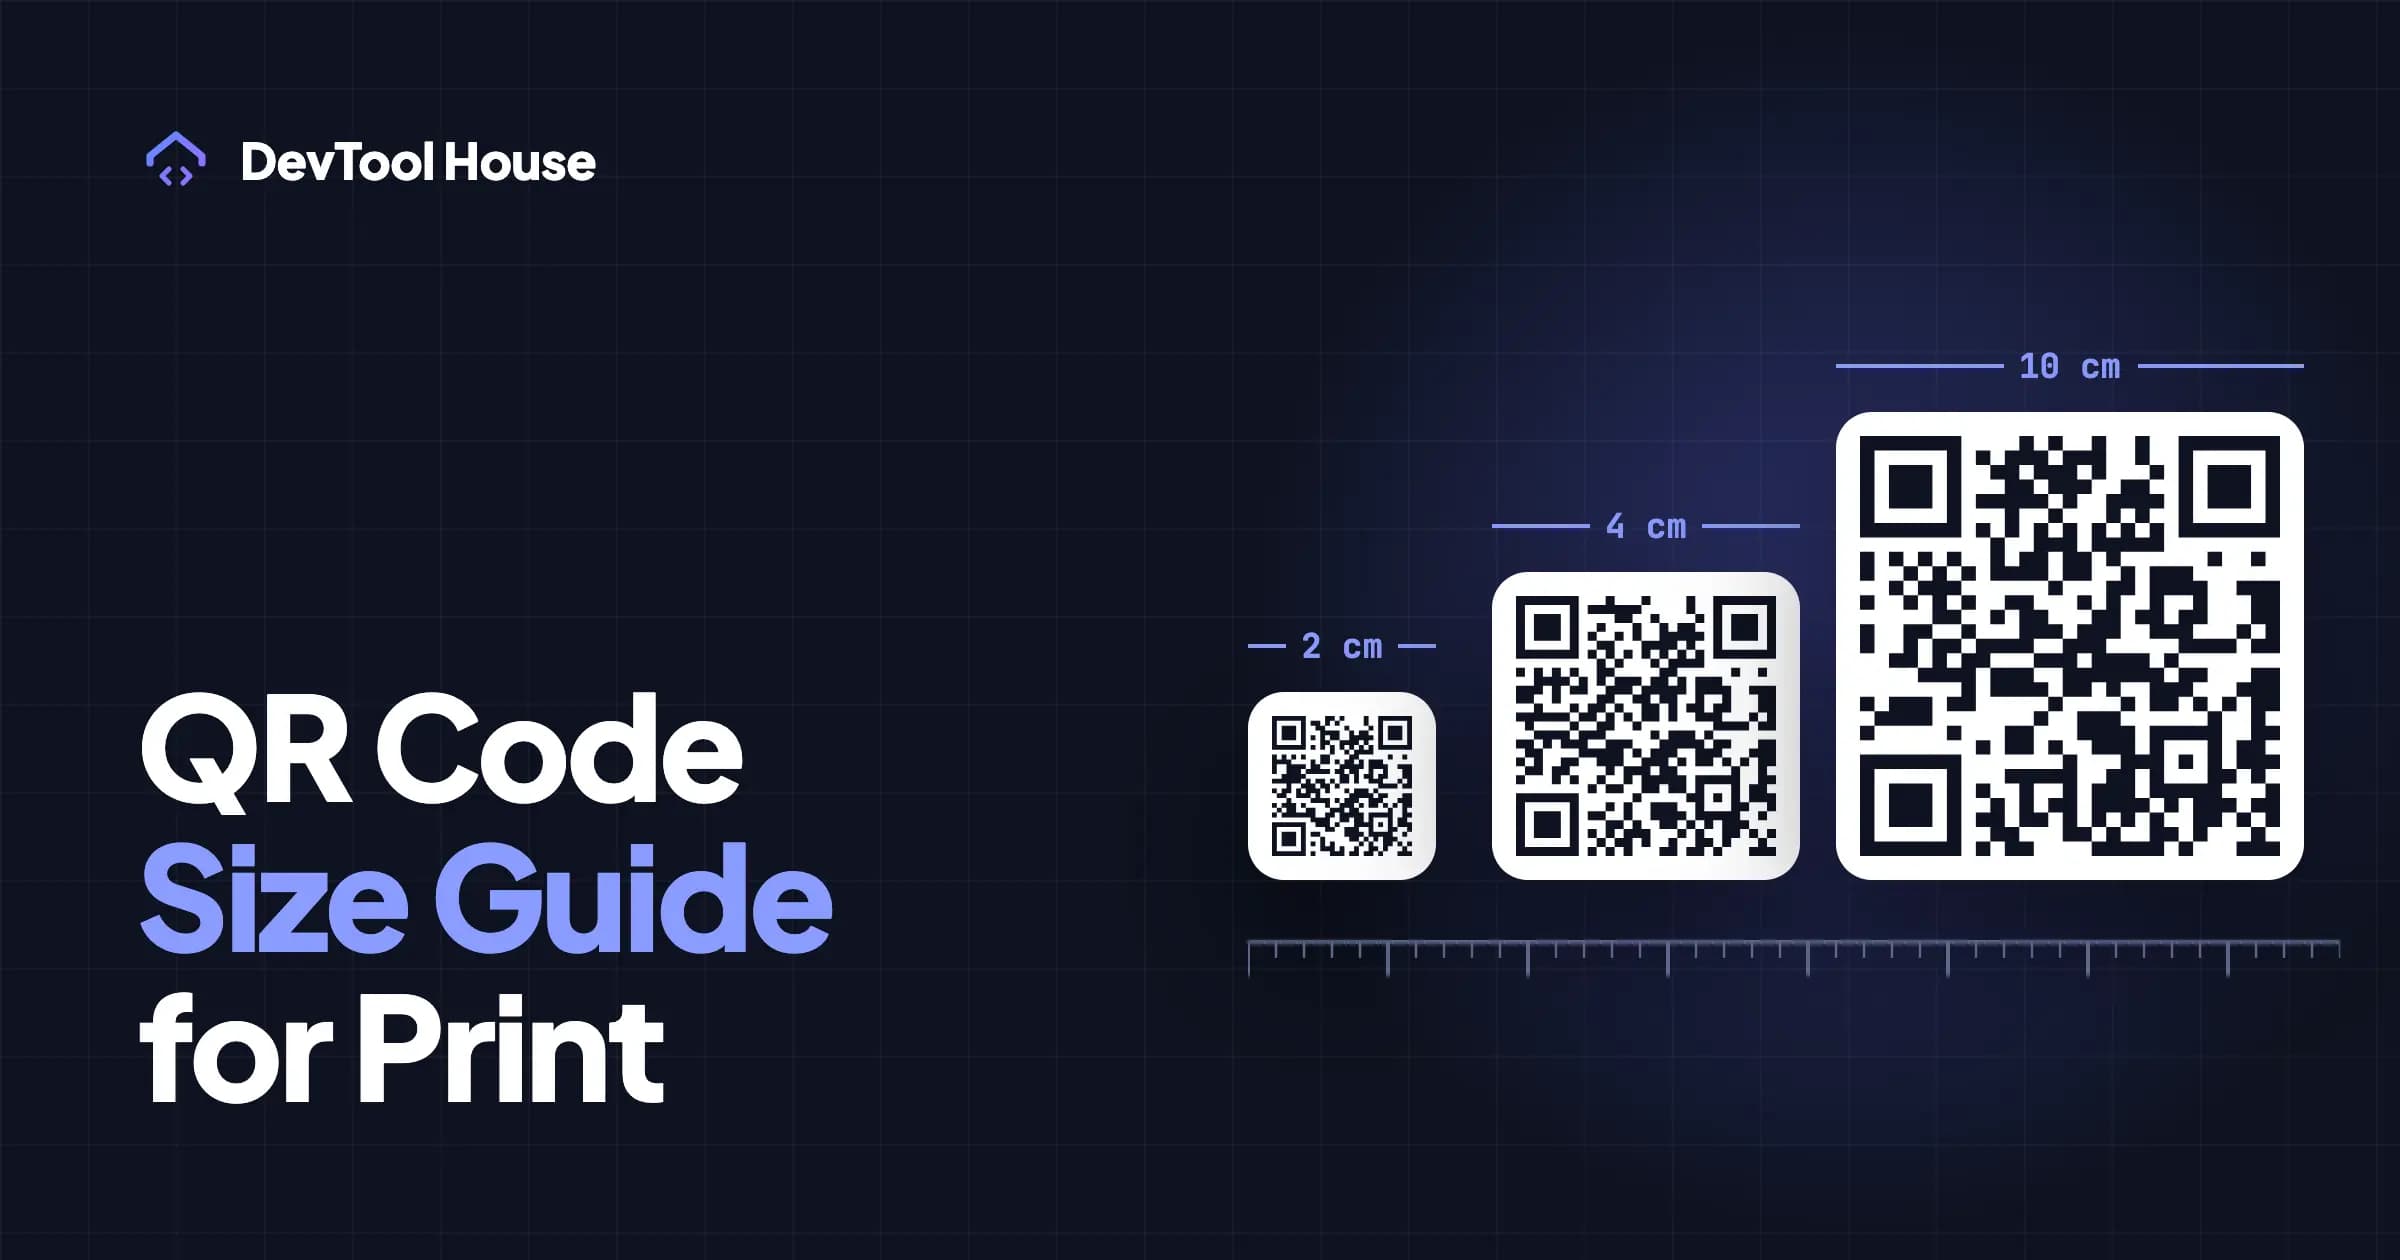
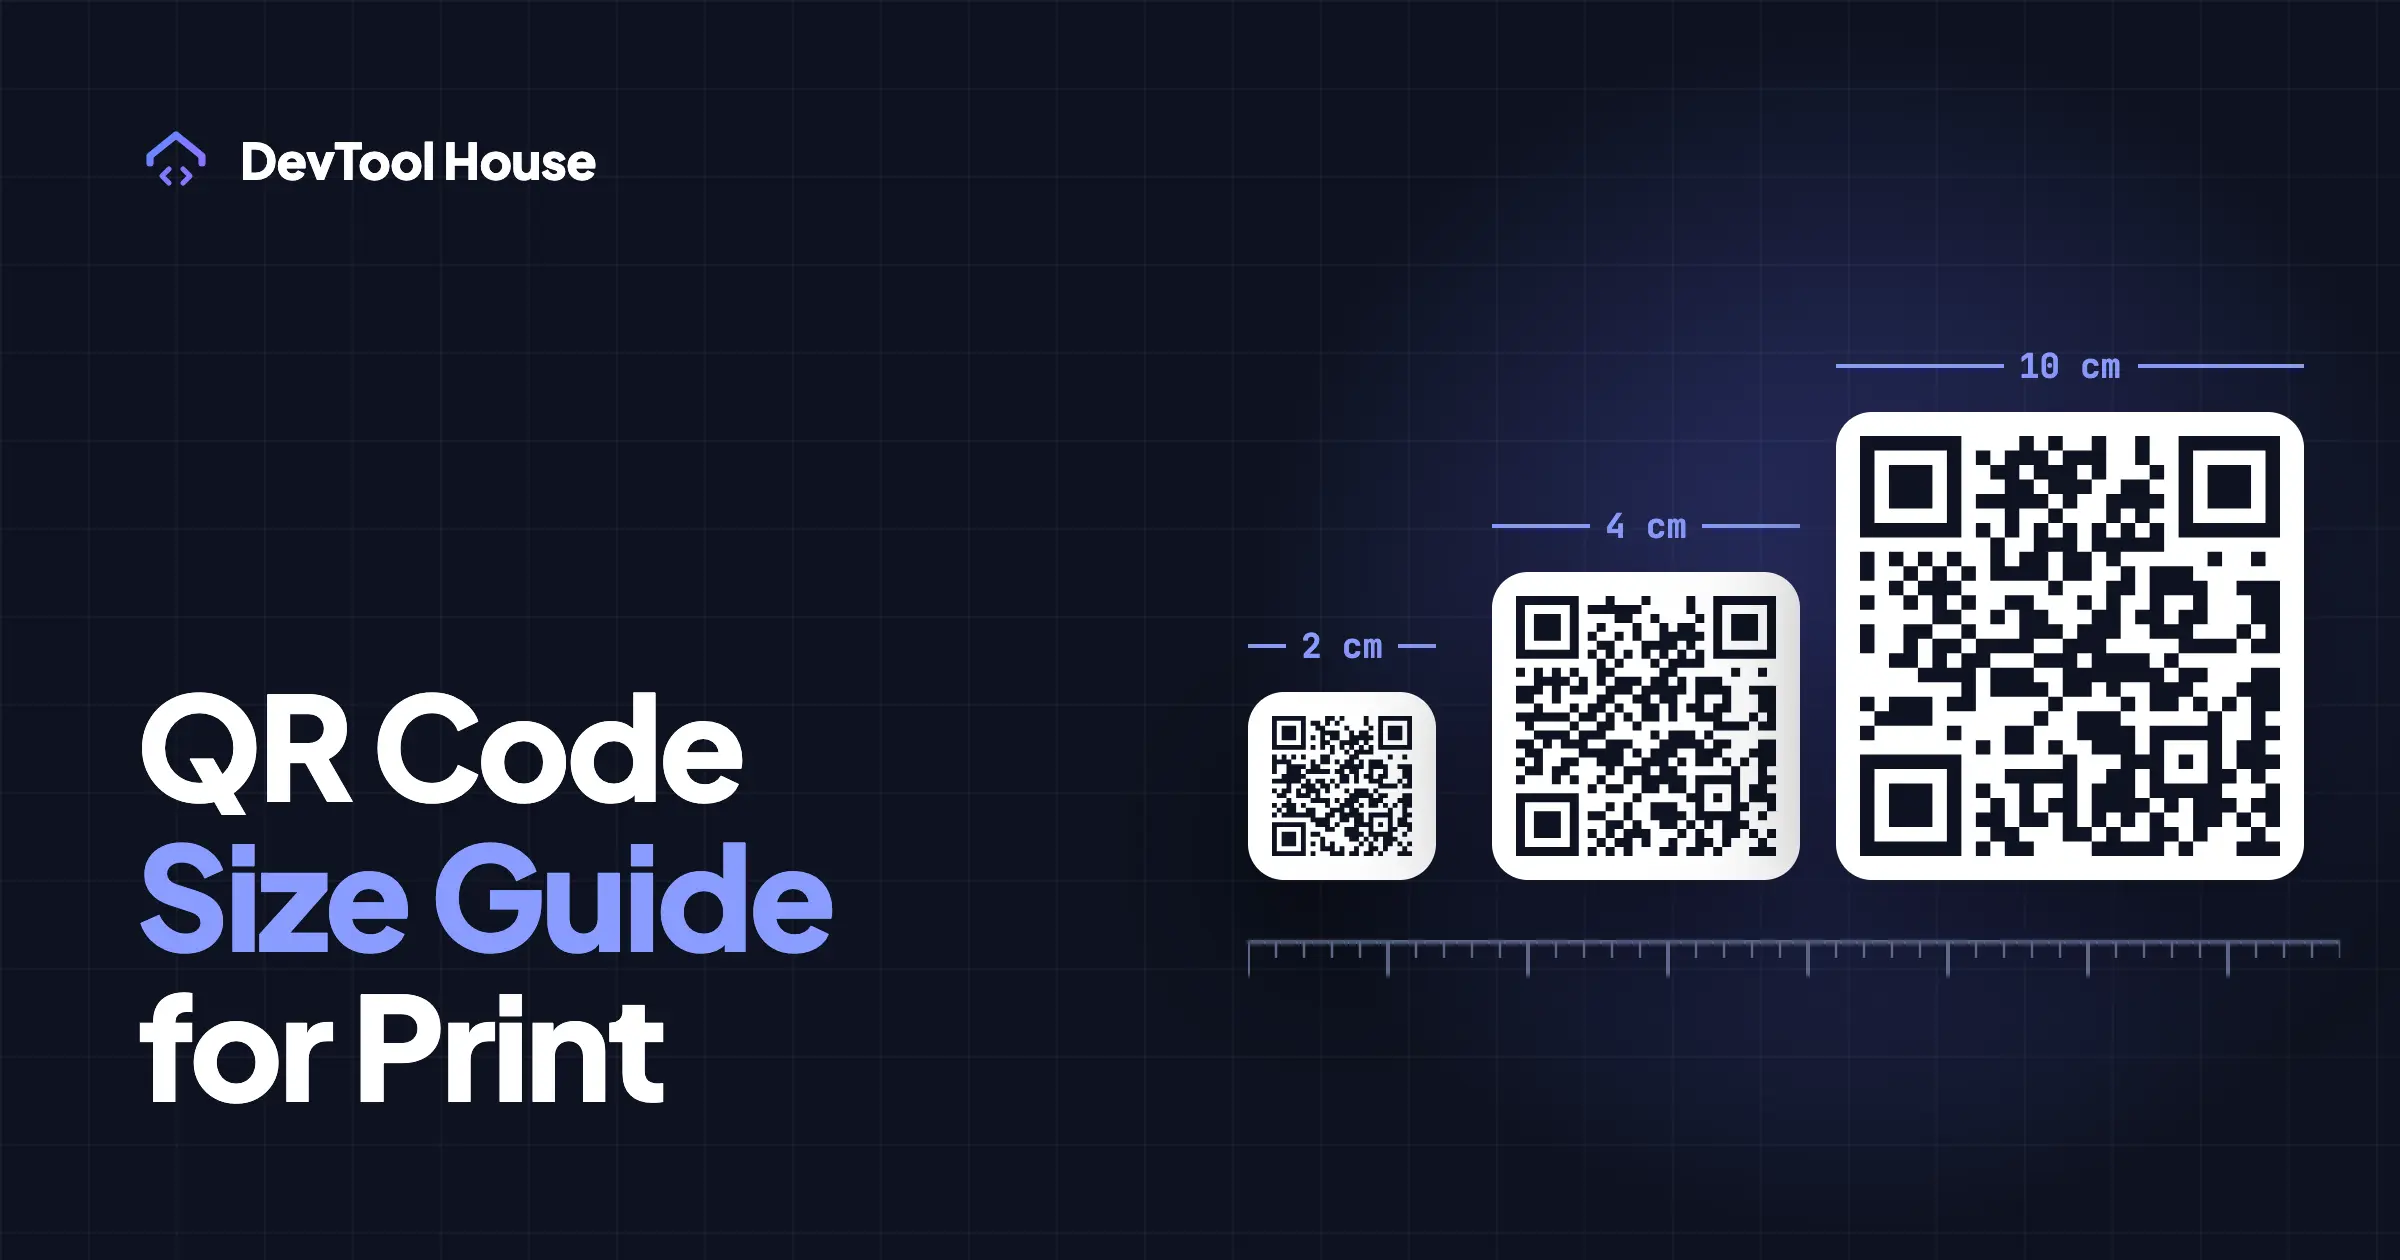
Then apply the floor: never smaller than 2 × 2 cm (about 0.8 in), whatever the maths says. Below that, phone cameras struggle to focus at close range and printing tolerances start to matter.
Size by placement
| Placement | Scan distance | Minimum size | Comfortable size |
|---|---|---|---|
| Business card | 20–30 cm | 2 cm | 2.5–3 cm |
| Flyer, menu, table tent | 30–50 cm | 3 cm | 4–5 cm |
| Product packaging | 20–30 cm | 2 cm | 2.5–3 cm |
| Poster (A3/A2) at eye level | 1–2 m | 10 cm | 15–20 cm |
| Shop window, read from the pavement | 2–3 m | 20 cm | 25–30 cm |
| Trade show banner | 3–5 m | 30 cm | 40–50 cm |
| Billboard | 10 m+ | 1 m | Bigger, plus a short readable URL |
Round up when in doubt. Nobody has ever complained that a QR code was slightly too easy to scan.
The quiet zone matters more than the size
The quiet zone is the blank margin around the code. The specification calls for 4 modules — four of the little squares — of clear space on all four sides.
Scanners use that blank ring to find where the code starts and ends. Crop it, put text against it, or run a border up to its edge, and a perfectly good code becomes unreadable. This is the single most common design-side failure, and it usually happens when someone tidies up the layout after the code was placed.
Our generator defaults to 4 modules and lets you adjust it. Keep the quiet zone clear of text, logos, borders, and busy photography.
Pixels, DPI, and what to download
For print you want 300 DPI (dots per inch). The maths:
pixels = (centimetres ÷ 2.54) × 300
| Printed size | Pixels at 300 DPI |
|---|---|
| 2 cm | 236 px |
| 3 cm | 354 px |
| 5 cm | 591 px |
| 10 cm | 1181 px |
| 20 cm | 2362 px |
| 30 cm | 3543 px |
Or skip the maths and use vector. SVG and PDF have no resolution: the printer renders them at whatever size you place them, perfectly sharp. For anything going to a professional printer, send vector. The generator exports SVG and a PDF sized for 300 DPI, and shows the printed width for whichever pixel size you pick.
Never enlarge a small PNG to fill a poster. Upscaling turns crisp module edges into soft grey ones, and soft edges are what cameras fail on.
Keep the data short so the modules stay big
At a fixed printed size, more data means more modules, and each module gets smaller. A long URL with tracking parameters can double the module count compared to a short one.
Practical ceiling: aim to keep each module at 0.4 mm or larger in print. Two ways to get there:
- Shorten the URL.
yoursite.com/menuinstead ofyoursite.com/restaurant/downloads/spring-menu-2026-final.pdf?utm_source=flyer. - Lower the error correction if you are not using a logo. Level M is a good default; level H makes the code noticeably denser. If you do add a logo, the tool switches to H automatically, which is the right trade — just give the code a bit more physical size.
Surfaces, angles, and light
Size is not the only variable:
- Glossy stock and laminate create glare that washes out the pattern under shop lighting. Matte finishes scan more reliably.
- Curved surfaces — bottles, cups, cans — distort the grid. Go larger, keep the code on the flattest area, and test on the real object rather than a flat proof.
- Fabric, embroidery, and knitted textures blur module edges. Go substantially larger than the rule suggests.
- Dark backgrounds need care: keep the code itself dark-on-light inside its quiet zone, even if the surrounding design is dark.
- Height and angle: a code below knee height or above head height gets scanned at an angle, which effectively shrinks it. Waist-to-eye level is the sweet spot.
On screens, slides, and video
Printed codes get the attention, but screen-displayed codes fail for their own reasons.
- Presentation slides: make the code at least 15% of the slide height. The audience is 3–10 m away, and the projector is not as sharp as your laptop screen.
- Leave it up long enough. Ten seconds is a sensible minimum: people need time to notice it, get their phone out, and focus.
- Video and TV: compression eats fine detail, so go larger than you think and keep the code static on screen rather than moving or fading.
- Never put a code on a slide behind you in a dark room if the screen is also the only light source — glare on the audience's angle makes it unreadable. Print it on the handout instead.
- Web pages: a code shown on the same phone that would scan it is useless. Offer a link instead, and keep the code for desktop views.
How many modules will my code have?
The number of modules is set by the amount of data and the error-correction level, and it moves in steps called versions — from 21x21 modules at version 1 up to 177x177 at version 40.
This matters for one practical reason: at a fixed printed size, a version 10 code has modules roughly half the width of a version 3 code. Halving module size is the fastest way to make a previously reliable code unreadable, and it happens quietly when someone appends tracking parameters to the URL.
If you shorten the URL and your code visibly loses rows and columns, you have just made it easier to scan at the same printed size.
Test the proof, not the file
The file always looks fine on screen. Print it at final size and:
- Scan from the real distance, in the real lighting.
- Try at least two phones, including an older one.
- Try at an angle, not just straight on.
- Try in dim light — a restaurant at dinner is not a design studio.
- For packaging, test on the actual curved, laminated object.
If it needs a second attempt or a step closer, go bigger before the run.
Quick reference
- Size = scanning distance ÷ 10, minimum 2 cm.
- Quiet zone = 4 modules, kept completely clear.
- 300 DPI for raster, or send vector and stop worrying.
- Dark code, light background, matte finish.
- Short URL keeps the modules large.
- Test the printed proof at the real distance.
If a printed code still refuses to scan, the troubleshooting guide works through the other causes. And before a long print run, check whether your code is static or dynamic — size is irrelevant if the code expires next quarter.
Try the related tools
Related articles
Static vs Dynamic QR Codes: Which Ones Never Expire
Why some "free" QR codes stop working after a trial, how to tell which kind you have, and how to get editable codes without renting them from anyone.
Read article
How to Create a WiFi QR Code for Guests (iPhone and Android)
Let guests join your WiFi by scanning instead of typing a 20-character password — how the format works, how to print it, and the security trade-off.
Read article